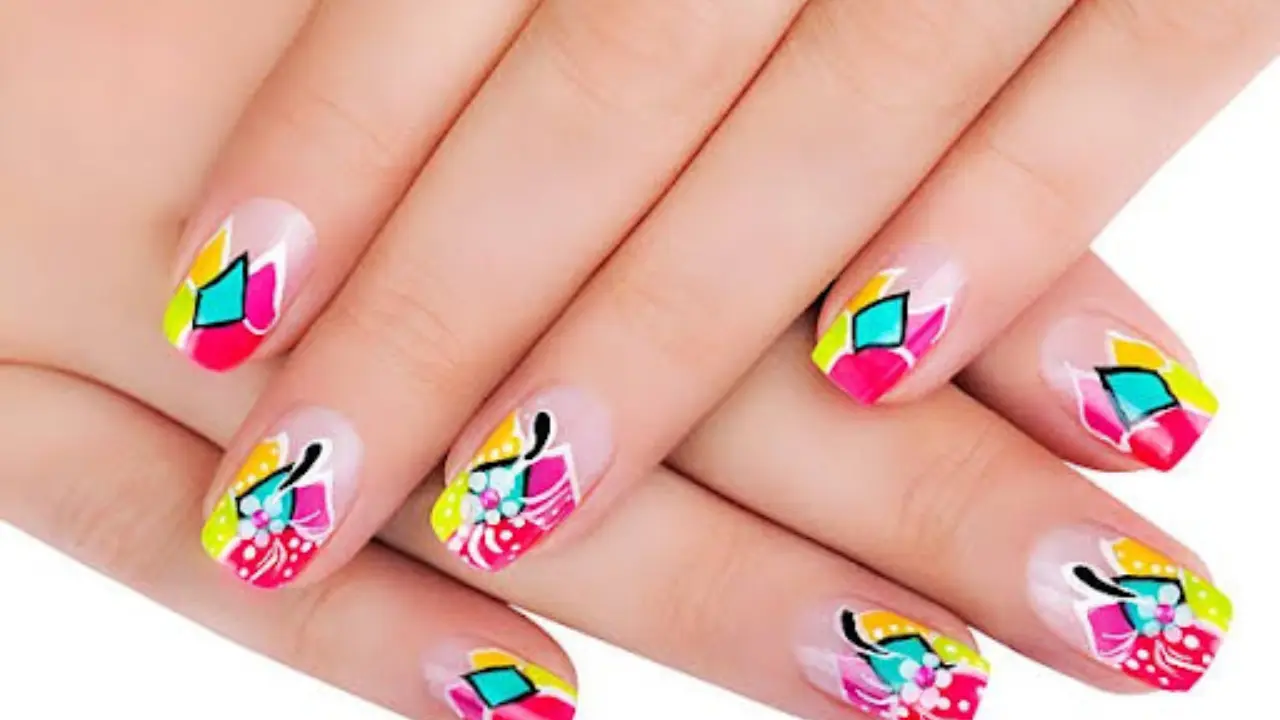
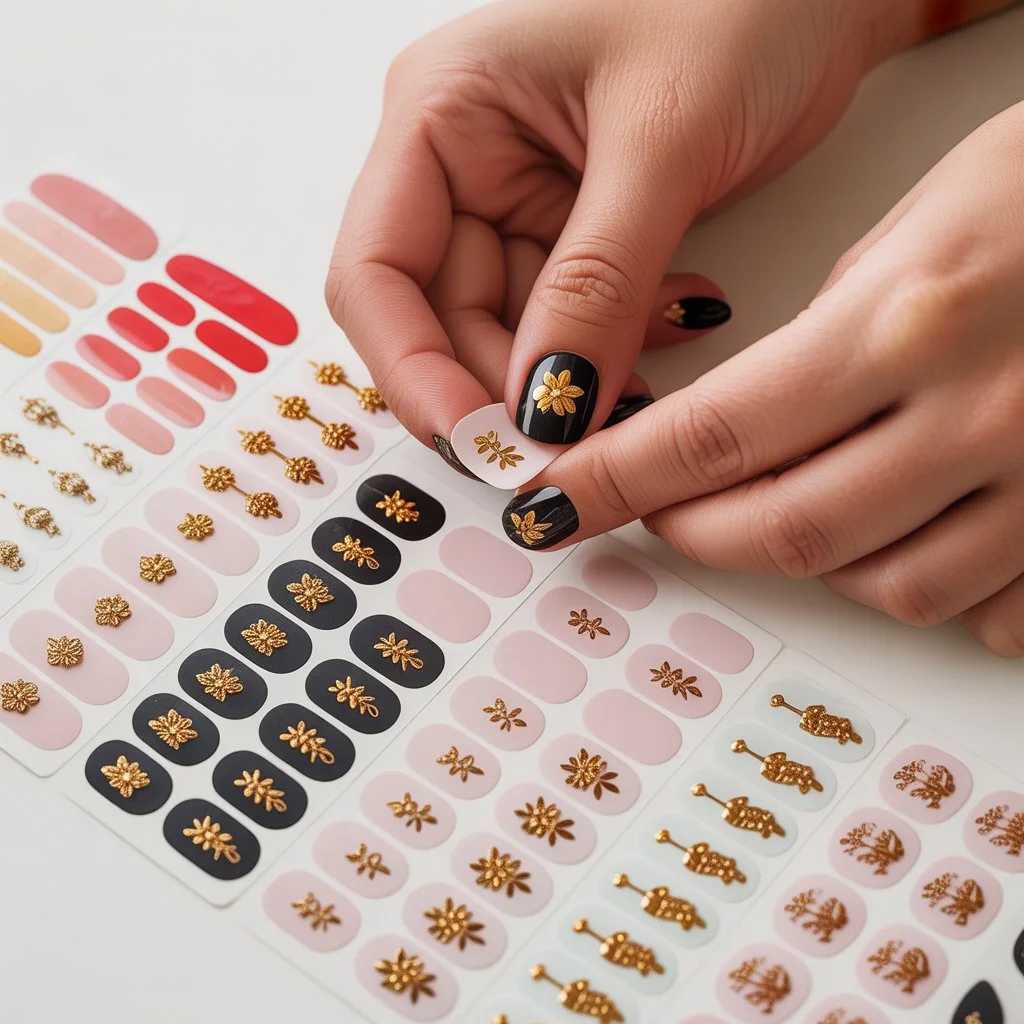
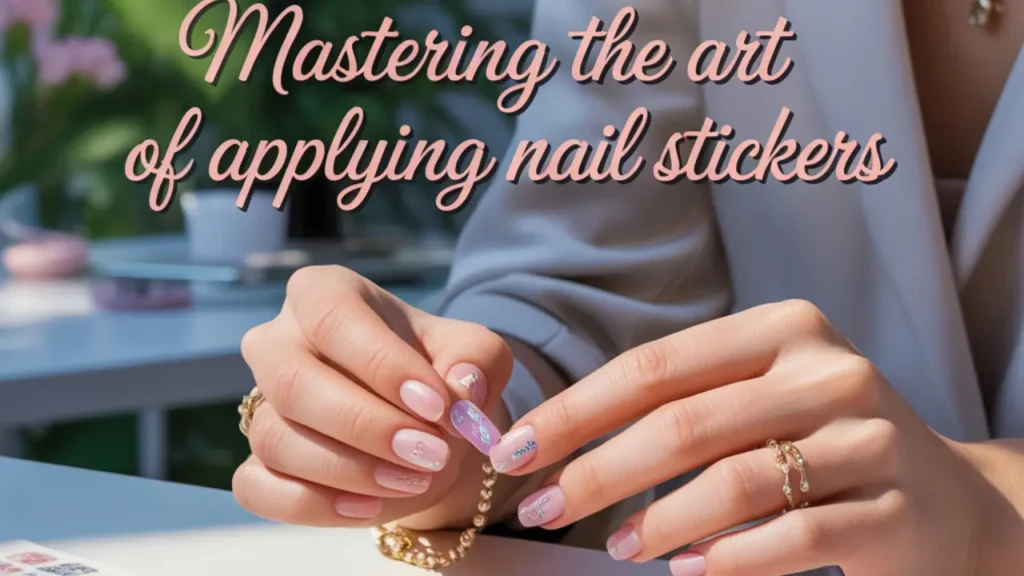
Nail stickers are pre-designed, adhesive-backed nail wraps made from gel polish. They don’t need a messy application or drying time, unlike traditional nail polish. You are required to simply peel, stick, and cure the stickers under a UV lamp for a long-lasting, glossy finish. The gel nail stickers come in many designs, which can convert your nails into a canvas for a creative experience. The gel nail art stickers are usually made of plastic, vinyl, or printed paper material with a sticky side. These nail stickers are specifically designed with non-toxic materials, and so they are gentle on your nails by giving a professional-quality manicure in a safe way. The gel nail stickers are safe for your nails when applied or removed.
Creating stunning, salon-quality nails at home has never been easier, especially with the advent of the UV gel nail system. You can make it easy for yourself by opting for nail stickers, which can take your manicure from minimal to a work of art in no time.
In this guide, we’ll explore the types of nail stickers, the materials you will use while applying them, and endless ways to use nail art stickers in seconds. Also, we’ll guide you through the process of applying stickers for a long-lasting, flawless look.
Types of Nail Stickers
The gel nail stickers are of numerous types, patterns, and designs. Some common types of gel nail stickers are.
- Water Decals: These nail stickers are soaked in water before applying. They are stylish and offer maze-like designs.
- Vinyl Stickers: Vinyl stickers are easy to apply and can be repositioned if needed.
- 3D Stickers: The 3D nail stickers have a raised surface to manifest in a three-dimensional effect.
- Foil Stickers: The foil nail stickers have a metallic, shiny look and are great for adding a touch of attraction.
- Nail Wraps: The nail wraps cover the entire nail with a full-nail art sticker, offering a quick way to achieve intricate designs.
Materials Needed to Apply Nail Stickers

The following materials are needed to have in your pocket while applying nail art stickers to experience the best manicure ever.
- UV Gel Nail Kit: You should have a UV gel nail kit with base coat, top coat, UV gel polish, and a UV lamp.
- Nail Stickers: Choose the nail sticker design that you want to carve.
- Nail Tools: For an easy and quick application, you must have all the nail tools, such as nail files, buffers, cuticle pushers, etc.
- Cleaner: You need a cleaner to clean your nails before using nail stickers.
- Cotton Pads: Cotton pads or lint-free wipes are used for cleaning nails.
- Cuticle Oil: After applying nail art stickers, you need a cuticle oil for nail aftercare.
Eternal Ways to Use Nail Art Stickers
To use the gel nail stickers in a creative way, the following points should be helpful.
- Accent Nails: First, apply nail stickers to one or two fingers to experience a precise yet stylish look.
- Mix and Match: Use a combination of nail stickers with regular nail polish or gel polish to get unique nail designs.
- Full Coverage: You can also use nail art stickers that cover the entire nail to have a bold look.
- Themed Manicures: Celebrate your special occasions or events with festive stickers, like snowflakes for winter or pumpkins for fall.
Tips to Make Nail Stickers Last Longer
By following the correct application method, nail art stickers can last between two and three weeks. Some tips, such as avoiding scraping your nails, make your nail stickers last longer. To maintain your gel nail stickers and extend their lifespan, follow these key practices.
- Clean Nails: Clean your nails and free them from any oil or dirt before applying nail stickers for long-lasting results.
- Use the Correct Application Process: By following the correct application process, such as applying, stretching, and removing the nail stickers, you can keep the nail stickers lasting longer.
- Use a UV Nail Lamp: This is the most vital step to maximizing the length of your manicure. The use of a UV nail lamp can increase the lifespan of your nail art.
- Use a Top Coat: It’s not required to use a top coat, but applying it to your manicure can add an extra shine to your nails.
- Take Care of Nails: The aftercare of your nails can keep your manicure a little longer than usual, such as avoiding too much pressure when going through purses or grabbing things.
Tips for a Flawless Finish of Nail Stickers

To get a flawless finish or a glamorous look for your manicure by using gel nail art stickers, the following tips will be helpful.
- Avoid Overcuring: You need to follow the curing times according to the manufacturer for a flawless look, because overcuring can make the UV gel fragile and vulnerable.
- Thin Layers: You need to apply thin layers of UV gel polish to avoid an immense look and ensure each layer cures properly to get a fine nail art look.
- Design Practice: Use a mix-and-match coating of stickers, or combine them with other nail art techniques to create unique and personalized nail art.
- Practice Patience: Be precise for a professional look. Have patience while placing stickers to avoid any misplacement.
FAQs
Q: Can we put a clear coat over nail stickers?
Yes, you can clearly put a coat over nail stickers; this can enhance the appearance and durability of your manicure.
Q: Why did I choose nail stickers?
Nail stickers are an excellent choice because of their ease of use, and are popular for both beginners and experienced users; both can use them.
Q: How do we dry gel nail art without using a UV lamp?
Gel nail polish has become increasingly popular for its quick drying time and long-lasting wear without using UV radiation, because it is dangerous to health.

